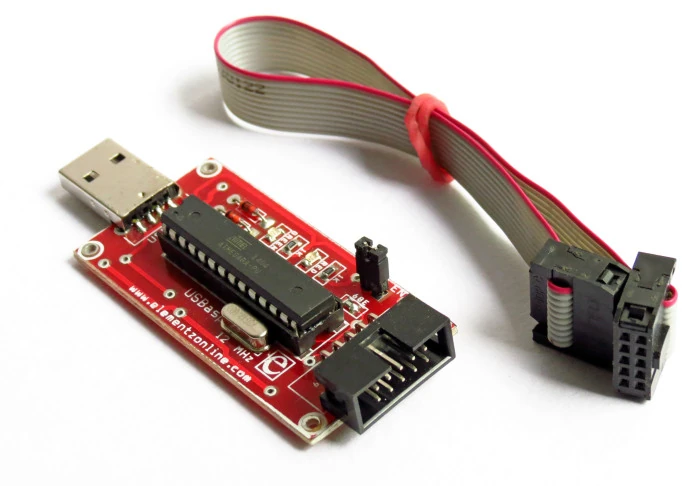
AVR-USBASP is used as an ISP programmer for flashing AVR ICs such as ATMEGA16, ATMEGA32, ATMEGA328 etc...
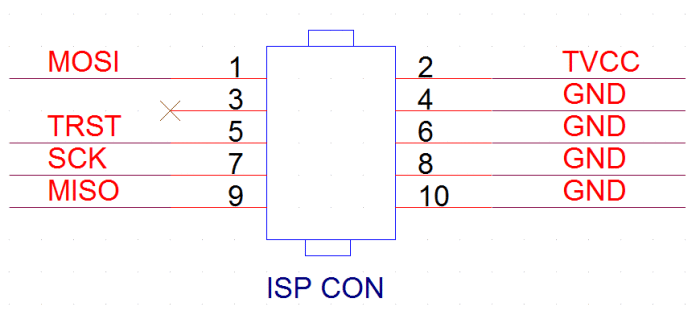
PinOut[]
The target pinout is as follows
Installing Driver[]
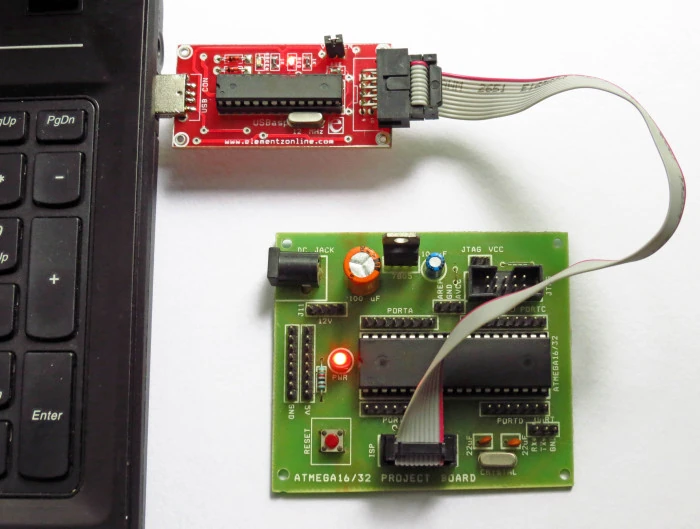
The connection is to be made as follows.
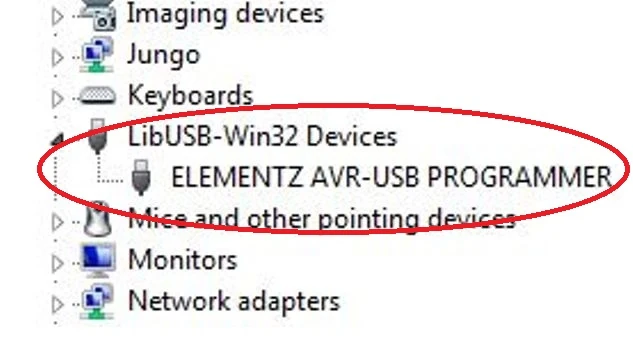
Windows OS[]
After connecting the USBASP programmer to the USB port for the first time user have to locate the driver file from the this link. On successful installation the device manager should list device as ELEMENTZ AVR-USB PROGRMMER .
Then connect the AVR Programmer to your project board. For other boards connect the 10 pin connector by making use of the pinout mentioned above.
Linux OS[]
Recent Debian distributions such as Ubuntu/LinuxMint doesn't require any driver installation.
Using AVRDude GUI tool(Windows Only)[]
For programming your IC AVRDUDE GUI is required which can be downloaded from this link.
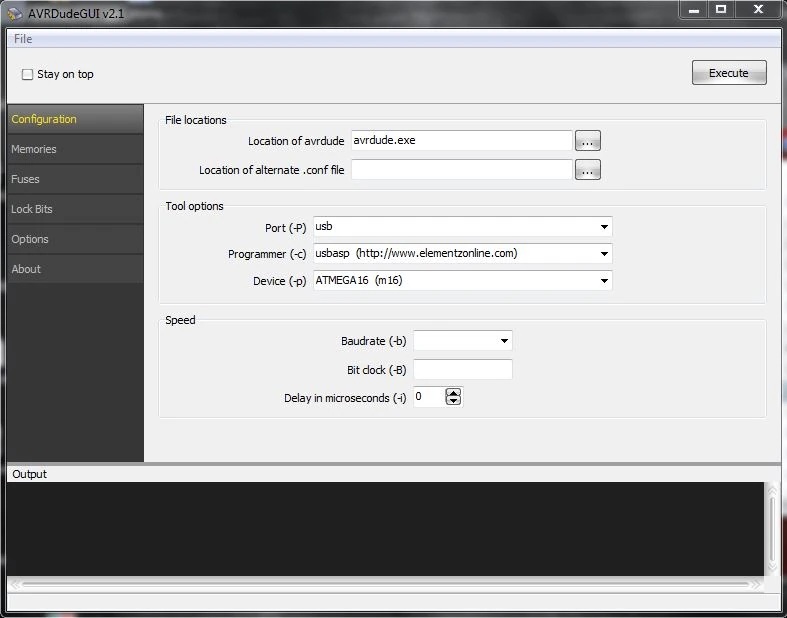
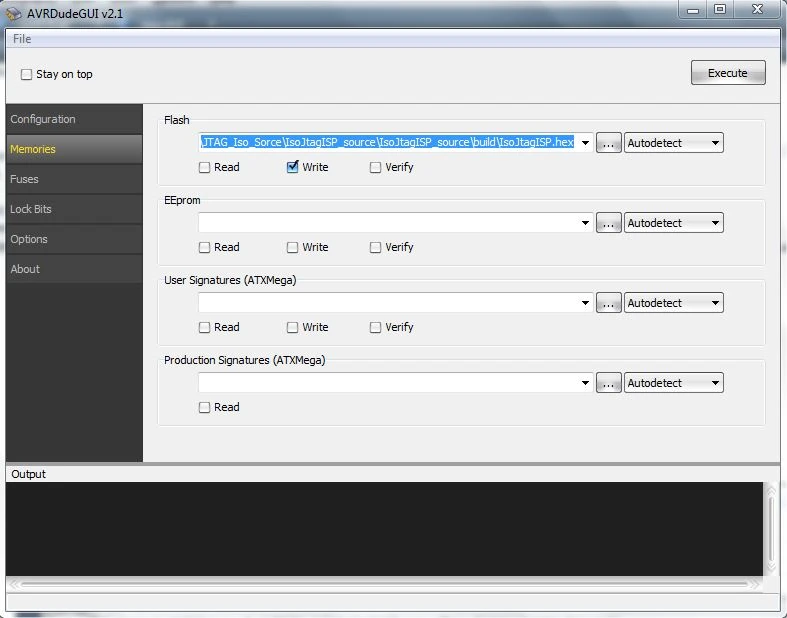
Open AVRDUDE GUI. Make sure the configuration is done properly according to the picture shown below.
Using AVRDude commandline[]
Windows OS[]
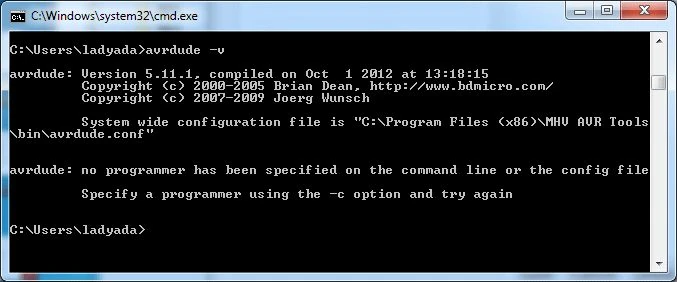
Executing AVRdude:
Fortunately AVRdude is command line tool, so that you can be very sure of what you are doing with your uC Or Unfortunately AVRdude is command line tool, so you will have to spend little time to get familiar with it :)
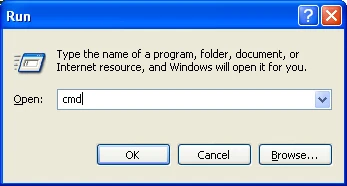
– Open the command prompt. (Press WinKey + R. Run dialogbox will appear. Type cmd and press enter.)
– Navigate to the directory where .hex file is located. For example :
> cd D:/CodeDirectory d:
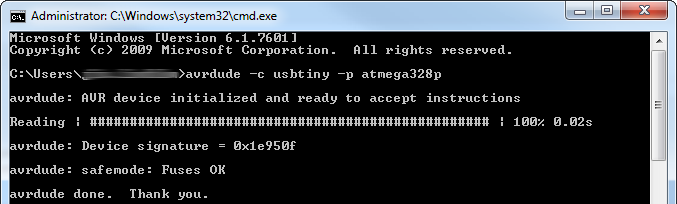
To burn the hex file enter following command. Consider for example name of my hex file is io.hex : > avrdude –c usbasp –p m16 –u –U flash:w:io.hex
You should see something like this :
Linux OS[]
Install avrdude from commandline as
sudo apt-get install avrdude
Navigate to the code directory where the hex file is located.
avrdude –c usbasp –p m16 –u –U flash:w:io.hex
Programming ATmega16/32 using AVR-USBASP[]
ATmega16 & ATmega32, having Advanced Virtual RISC Architecture are microcontrollers having breadboard friendly 40 pin DIP package.This post is intended to help beginners program ATmega16/32 IC’s using USBASP.
The USBASP is a serial programmer having Serial Peripheral Interface for programming . The programmer consists of 10 pin standard serial connector for connecting to the target board for programming. The USBASP consists of the ATmega8 IC which can be connected through USB port as ELEMENTZ AVR PROGRAMMER by providing suitable driver form here.
Pinout description is as follows.
| Net | Description | Pin-ATMEGA16/32 |
| MOSI | Master Out Slave In | 6 |
| MISO | Master Out Save In | 7 |
| SCK | Serial Clock | 8 |
| TRST | Target Reset | 9 |
| TVCC | Target VCC | 10 |
| GND | Ground | 11 |
| Low fuse | High fuse | Description |
| E1 | 99 | Factory Default– Works with internal 1 MHz RC Oscillator |
| FF | 99 | Factory Default– Works with External 8-16 MHz Crystal Oscillator with JTAG Enabled |
| FF | D9 | Factory Default– Works with External 8-16 MHz Crystal Oscillator with JTAG Disabled |
Inorder to make external crystal oscillators to work, fuse settings should be changed.
Programming ATmega8 using AVR-USBASP[]
Connection of ATMEGA8 is as following. Pinout description is as follows.
| Net | Description | Pin-ATMEGA8 |
| MOSI | Master Out Slave In | 17 |
| MISO | Master Out Save In | 18 |
| SCK | Serial Clock | 19 |
| TRST | Target Reset | 1 |
| TVCC | Target VCC | 7 |
| GND | Ground | 8 |
Some popular fuse settings are as follows.
| Low fuse | High fuse | Description |
| E1 | D9 | Factory Default– Works with internal 1 MHz RC Oscillator |
| E4 | D9 | Works with Internal 8 MHz RC Oscillator |
| FF | D9 | Works with External 8-16 MHz Crystal Oscillator |